THE AGAG INSTALLATION GUIDE
To install artificial grass on soil, remove the existing lawn, prepare a stable base, plan drainage and edging, then cut, join and secure the turf before finishing it to the supplier instructions. The surface is the final layer. Getting what sits beneath it right is what helps the lawn stay even and usable.
This guide takes you through the whole job, from the first measurements to the final brush. It is written for garden installations on soil; fitting over concrete or another existing surface needs a different approach.
The Job in Three Stages
01 Prepare
Measure, set levels and plan where water will go.
02 Build
Excavate, edge and compact a suitable base.
03 Finish
Lay, trim, join, secure and brush the turf.
A Good Finish Starts Before the Turf Arrives
Measure the lawn, note the available roll widths and sketch where any joins will fall. Keep the pile direction consistent across every piece. A different orientation can make neighbouring sections look like different shades, even when the turf is the same.
Next, check the existing ground. Soft patches, standing water and awkward changes in height need attention before you order materials. Artificial grass does not solve a drainage problem simply by covering it.
Replacing a Lawn?
The steps below cover a typical soil installation. Our soil installation guide goes further into the ground-specific details.
Covering Concrete?
Check the condition, falls and drainage of the existing surface first. Use our guide to laying artificial grass on concrete instead.
REAL AGAG PROJECT · FULWOOD
Think About the Whole Garden, Not Just the Lawn
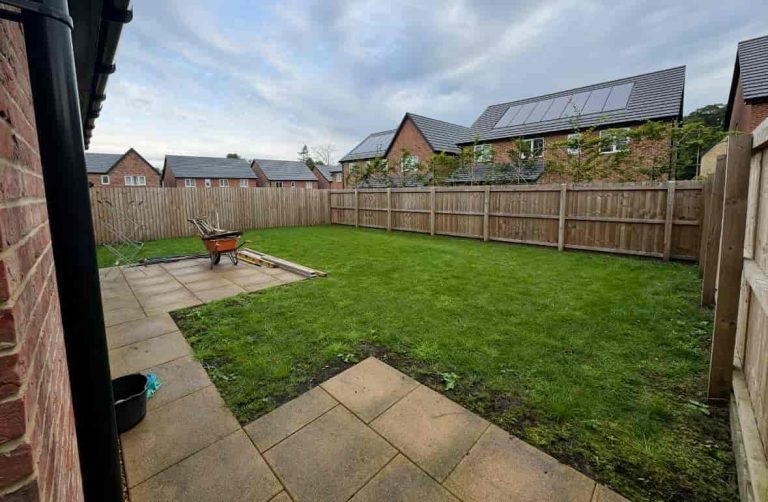
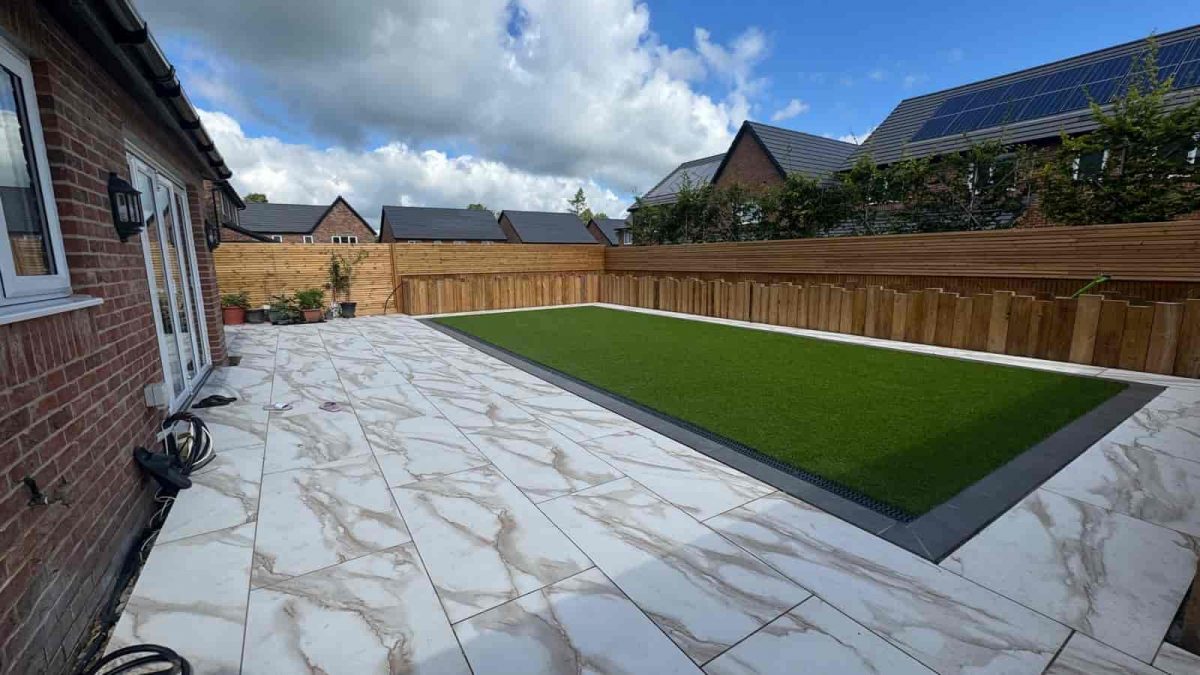
Photos from our Fulwood installation. The finished layout shows why the lawn perimeter and surrounding patio levels need to be considered together.
Tools and Materials to Have Ready
Get the specification agreed before ordering aggregate, edging or fixings. The right quantities come from the lawn area and the compacted depths of your chosen construction.
Tools
- Tape measure, string line and a suitable level
- Spade or turf cutter, shovel, rake and wheelbarrow
- Plate compactor and a screeding board
- Sharp utility knife with spare blades
- Suitable broom or turf brush
- Protective gloves, eye protection and the safety equipment required for hired machinery
Materials
- Artificial grass, allowing for the planned cuts and joins
- Suitable edging and compatible perimeter fixings
- Permeable geotextile membrane where specified
- Sub-base aggregate and laying-course material
- Joining tape and compatible outdoor turf adhesive
- The specified infill, if your turf requires it
- An agreed route for removing excavated turf and soil
What Goes Under Artificial Grass?
Think of the lawn as a layered construction, not a carpet laid over the garden. Each layer does a different job. The diagram below is an example of the sequence in our self-install guidance, not a universal specification.
The guide to artificial grass base materials explains the options. If water already collects in the garden, start with drainage planning before deciding on the aggregate.
How to Install Artificial Grass: 10 Steps
Work through the preparation first and dry-fit the grass before making final cuts or applying adhesive. The following sequence covers the main stages of a typical garden installation.
STEP 01
Set the Finished Levels
Decide how the lawn will meet patios, paths, borders and access points. Work backwards from that finished level to allow for the complete base build-up and the chosen turf. Plan drainage at the same time, so water has a suitable route away.
STEP 02
Remove the Old Lawn and Unsuitable Soil
Lift the turf and remove roots, debris and soft material that cannot support the new construction. Our self-install guidance uses around 75mm below the proposed finished level as a starting example, but the required excavation can change with the site and base design.
Do not leave unstable patches simply because you have reached a nominal depth. Our ground preparation guide covers this stage in more detail.
STEP 03
Install Suitable Edging
Fit a perimeter that contains the aggregate and provides the fixing method your turf needs. Suitable timber and concrete edges need different fixings, so decide how the grass will be secured before completing the base.
Keep transitions neat without creating raised lips or blocking drainage. See our artificial grass edging guide for the main options.
STEP 04
Position the Membrane as Specified
In the example construction above, a permeable geotextile goes over the prepared ground before the aggregate. Fit and overlap it according to the product instructions and your installation specification.
A membrane can help separate materials and limit weed growth from below; it does not stop seeds germinating in debris on the surface. For pet areas, agree the whole drainage and membrane arrangement rather than automatically adding extra layers.
STEP 05
Build and Compact the Sub-Base
Spread the specified aggregate and compact it in manageable layers using suitable equipment. Our self-install guidance includes MOT Type 1 as a base option, but the material and depth need to suit the ground and drainage design.
Check the levels as you work. The finished base should be firm and stable, not loose underfoot. Do not rely on the laying course to disguise deep dips or unstable material.
STEP 06
Add a Smooth Laying Course
Spread the chosen laying-course material, compact it and screed it carefully to the planned levels. Our self-install guidance uses a layer of around 10mm as an example; the actual material and depth should be agreed for the installation.
The aim is a smooth, supported surface without ridges or hollows. More loose sand is not a substitute for a properly built base.
STEP 07
Roll Out and Dry-Fit the Grass
Position the rolls with all pile directions aligned. View the lawn from the house or main seating area before committing to the orientation. Allow the turf to relax for the period recommended by the supplier.
Leave enough material for final trimming and check the entire layout, including the joins. Avoid dragging the backing across a prepared laying course.
STEP 08
Trim Carefully and Make the Joins
Use a sharp blade and work from the backing where practical, avoiding cuts through the visible fibres. Trim gradually. Once too much material is removed, a neat repair can be difficult.
Bring adjoining edges together without overlapping or leaving an obvious gap. Use compatible joining tape and adhesive, following the instructions for application, weather conditions and curing. Keep fibres out of the adhesive.
Use the detailed guides to cutting artificial grass and joining separate rolls before tackling tricky edges or long seams.
STEP 09
Secure the Perimeter
Use fixings suited to the edging and turf system. Our self-install guidance describes mechanical fixing to timber and compatible adhesive to suitable concrete edging. Do not assume one fixing type or spacing works for every installation.
Check that the edge is secure without trapping fibres or creating dimples. The guide to securing artificial grass explains the main approaches.
STEP 10
Apply Any Specified Infill and Brush
If the turf requires infill, use the specified material and application rate. Spread it evenly and brush it in using the supplier recommended method. Do not apply a fixed sand quantity to every product.
Finish by checking joins, edges, levels and the direction of the pile. Clear all offcuts and loose fixings, and keep traffic off new joins until the adhesive has cured.
The Finishing Details Are Worth the Time
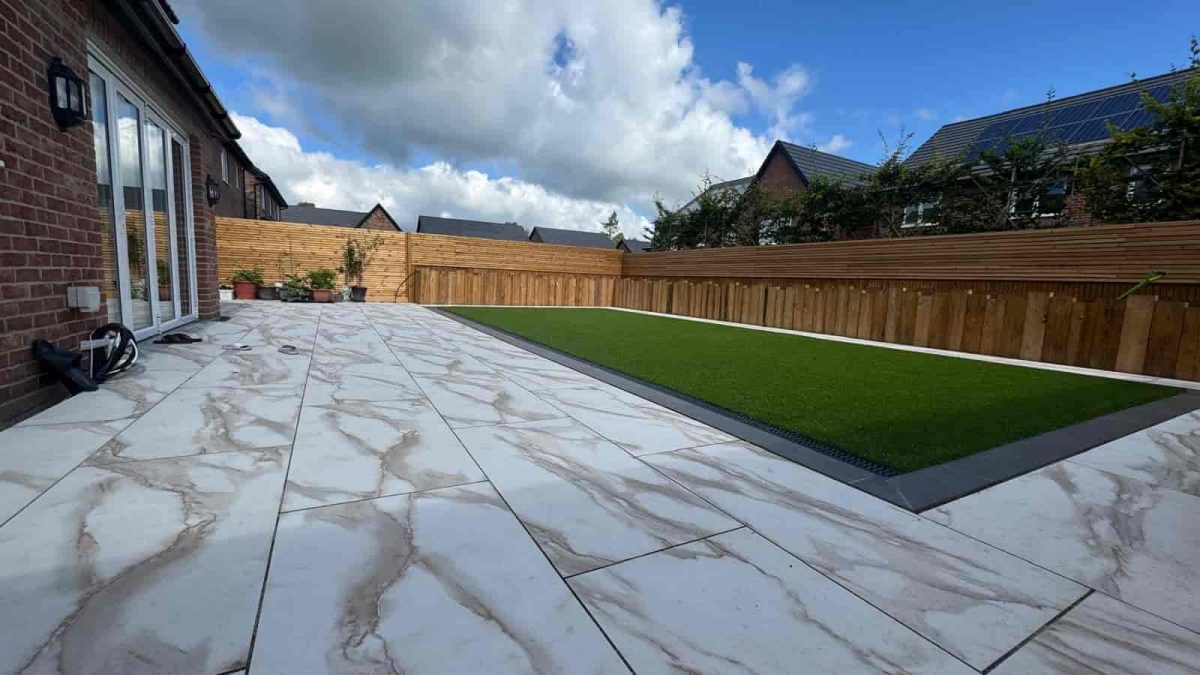
Straight joins, consistent pile direction and a tidy boundary do a lot for the finished appearance. Check the lawn from more than one viewpoint while adjustments are still possible, especially where it meets paving.
How Much Time and Money Should You Allow?
There is no reliable installation time or price based on lawn size alone. Excavation, access, waste removal, drainage, edging and the number of joins all affect the job. Allow extra time for DIY groundwork and check the weather and adhesive requirements before planning the fitting day.
For planning, use our installation time guide and artificial grass cost guide. Compare quotes on the complete specification, including what happens beneath the grass and what is included in waste removal.
Common Installation Mistakes to Avoid
| The Mistake | The Better Approach |
|---|---|
| Covering an unresolved drainage problem | Decide where water can go before choosing the base. |
| Using one excavation depth everywhere | Work from the finished levels and the site-specific build-up. |
| Leaving a loose or uneven base | Compact in layers and check stability before laying turf. |
| Mixing pile directions or rushing joins | Dry-fit the rolls and check the appearance before gluing. |
| Using universal fixing or infill quantities | Follow the specification for the chosen turf and edging. |
Aftercare: Let the Installation Finish Properly
Follow the adhesive curing instructions before walking over joins or moving furniture onto the lawn. There is no single waiting time that covers every adhesive and weather condition.
Once in use, remove leaves and debris, clean spills and pet mess promptly, and brush the pile with suitable equipment as needed. Our artificial grass maintenance guide covers the ongoing routine. Persistent dips or lifting joins need inspection rather than simply more brushing.
Artificial Grass Installation FAQs
Can You Lay Artificial Grass Directly on Soil?
For a permanent garden lawn, do not lay it straight onto loose soil or an existing lawn. Remove the turf and unsuitable material, then build a stable, compacted base with drainage and finished levels planned before fitting.
How Deep Should You Dig for Artificial Grass?
Our self-install guidance uses around 75mm below the proposed finished level as a starting example. The depth for your garden depends on the ground, base construction and chosen turf. Check the complete build-up before excavating rather than treating one depth as suitable everywhere.
What Goes Under Artificial Grass?
A typical soil installation includes prepared ground, a permeable membrane where specified, a compacted aggregate sub-base and a smooth laying course. The materials, depths and membrane position should suit the site, drainage requirements and turf supplier instructions.
Do You Need to Glue Artificial Grass Down?
Joining tape and a compatible outdoor adhesive are normally used where rolls meet. Perimeter fixing depends on the edging: timber may use suitable mechanical fixings, while suitable concrete edging may use adhesive. Do not glue the whole lawn onto a soil base.
Does Every Artificial Lawn Need Sand Infill?
No single quantity suits every product. Some turf systems specify an infill and others have different requirements. Follow the supplier instructions for the type, application rate and brushing method rather than automatically adding a fixed amount.
Can You Install Artificial Grass Yourself?
Yes, if you are comfortable with excavation, moving aggregate, compaction and accurate cutting and joining. Poor drainage, unstable ground, awkward levels or a complicated layout are good reasons to ask an installer to assess the job before starting.
When Can You Use the Lawn After Installation?
Follow the adhesive curing time and the turf supplier instructions. Keep traffic and furniture off new joins until they have cured. Cold, wet conditions can affect the installation schedule, so do not assume every lawn is ready after the same number of hours.
READY TO PLAN YOUR LAWN?
Get the Groundwork Right From the Start
Send us a few photos, approximate measurements and a note about access or drainage concerns. We can talk through the preparation and fitting your garden needs, whether you are planning some DIY work or want our complete artificial grass installation service.
For local advice, explore our Manchester artificial grass installation service. Our team can help you work out the right next step for your garden.
Guide updated 10 September 2026. Specifications vary by site and turf system; confirm the requirements for your installation before starting.